Backlighting & Exposure
This week we’ll be working on backlighting & exposure. Let’s see what moves you!

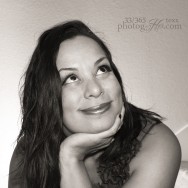
Expose for your subject…Like in this image of Mini-me. Here, I used my reflector to fill-in the shadows and bounce that luscious light behind her onto her face. I also used it to create catchlight in her eyes. I know, I know, the pros don’t like to see the reflector reflection (say that 5x fast), but I’m not a pro and I like the effect.
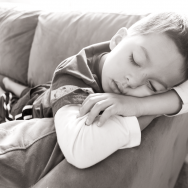 The next day my son was Cinco de Mayo-ed OUT. The light was pouring in from behind him I couldn’t find my “real” reflector, so I grabbed a piece of posterboard (make due with watcha got, y’all). It filled in the shadows perfectly. Don’t ask me how anyone can sleep like this…it’s beyond me.
The top struggles w/ backlighting are auto-focus and metering. Your auto-focus will always go to the area in your fame with the highest point of contrast (always). For this reason, I don’t use a super shallow dof. In the image above I focused on Mini-he’s hairline, this was a good contrast, and I always meter for the subject. When my kids are running around there’s no way, NO WAY that I could use a reflector. So I use my flash as fill; DO NOT be afraid to use your flash.
In this selfie, I used my in-camera flash (TP diffused) as fill and my off camera strobe is behind me. Cheap trick, if you don’t have a diffuser, tape a square of TP (toilet paper) in front of your in camera flash and that diffuses the light nicely. Here is a fantastic article with tips and tricks on backlighting from InspireMeBaby.com and a great article here from the folks @ tutsplus.com
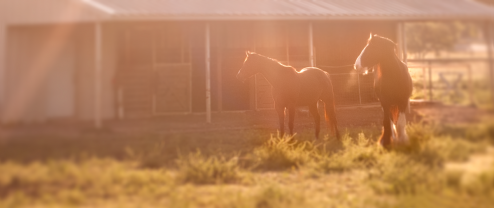
Image below was metered for the horseys. I had a vision of an over exposed, flare filled lovely Texas morning here. Good Luck, y’all. We’d love to see what you come up with. Feel free to post on our wall over on Facebook
